
Welcome to a blog post that is very different for me! For those of you who don’t know, I’m an out and proud bisexual with a little love for makeup. I used to practice all the time when I was younger, particularly in that YouTube influencer stage when vibrant and glamorous makeup looks were the trend.
Back in 2018, I went to London Pride for the 2nd time and I actually did a makeup look based on the colours in the bisexual flag. I decided to give it a go again and I’m pleased to say it still looks okay! I’ll be sharing a step by step process with you all. Let’s get to it!
What You Need

You will need the following:
- Eye primer
- An eyeshadow palette with pink, purple and blue shades
- An eyeshadow flat brush and a blending brush
- Mascara
- Eyeliner (this is optional!)
Step by step Process

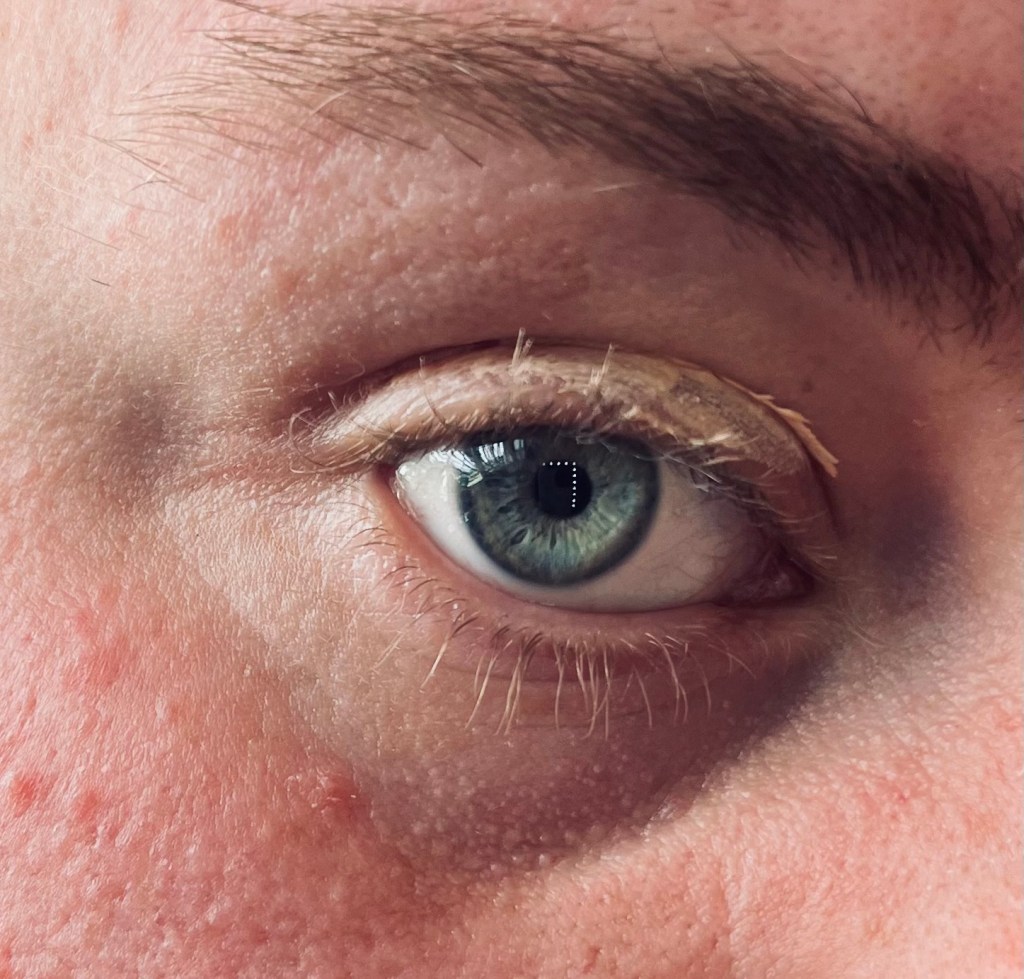
So this is what my eye looks like before applying anything.
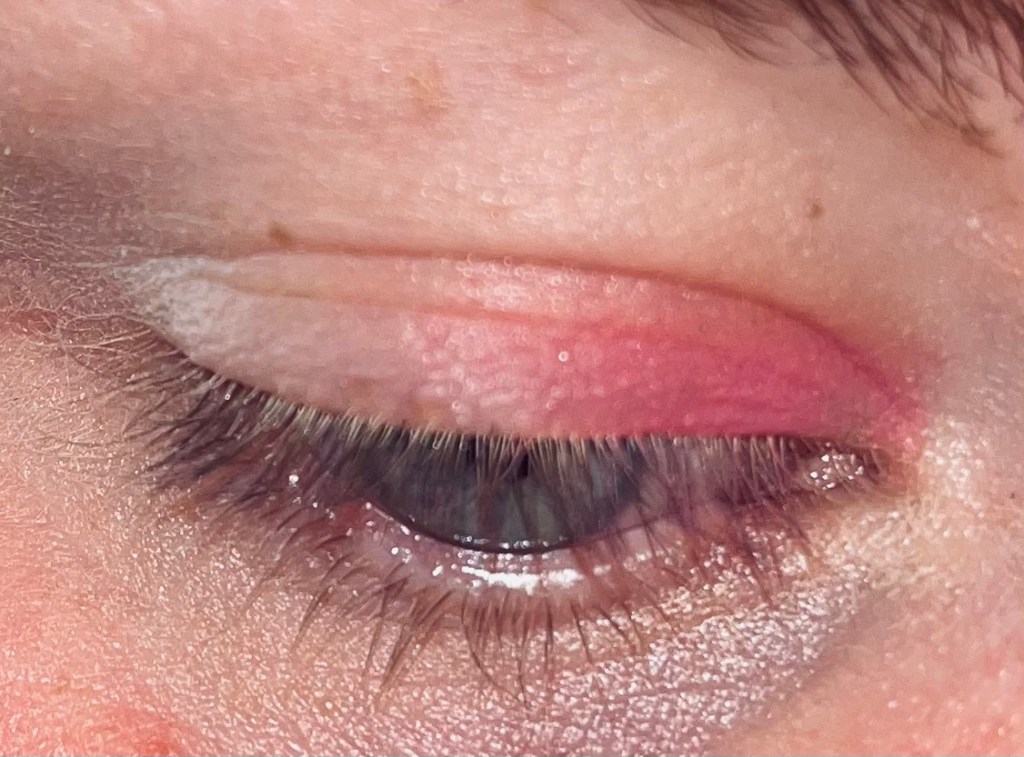
The first step is to apply eye primer to your eyelid. It will look like this before you blend it out.
Once this is done, blend it out with your finger so your whole eyelid is covered. It will look like this.

Next, you will need to get your eyeshadow palette and brushes. Like I mentioned earlier, you will need a palette that has a pink, a purple and a blue. I am using this palette from Nikkie Tutorials and Beauty Bay but unfortunately, it was limited edition. However, any palette will do! I would also recommend using matte shades as opposed to shimmer as it will be easier to blend.

The first shade I will be using is the pink. Apply this to the inner corner of your eyelid so it looks something like this.
Next, use a purple shade like this.

Apply this to the middle of your eyelid with a flat brush. Then blend it in with the pink. This is a good time to mention that this look is perfect to practice blending eyeshadow! If you struggle with blending eyeshadow or have never tried it before, practicing this look would be perfect! It should look something like this!
Next, you’ll need a blue shade.

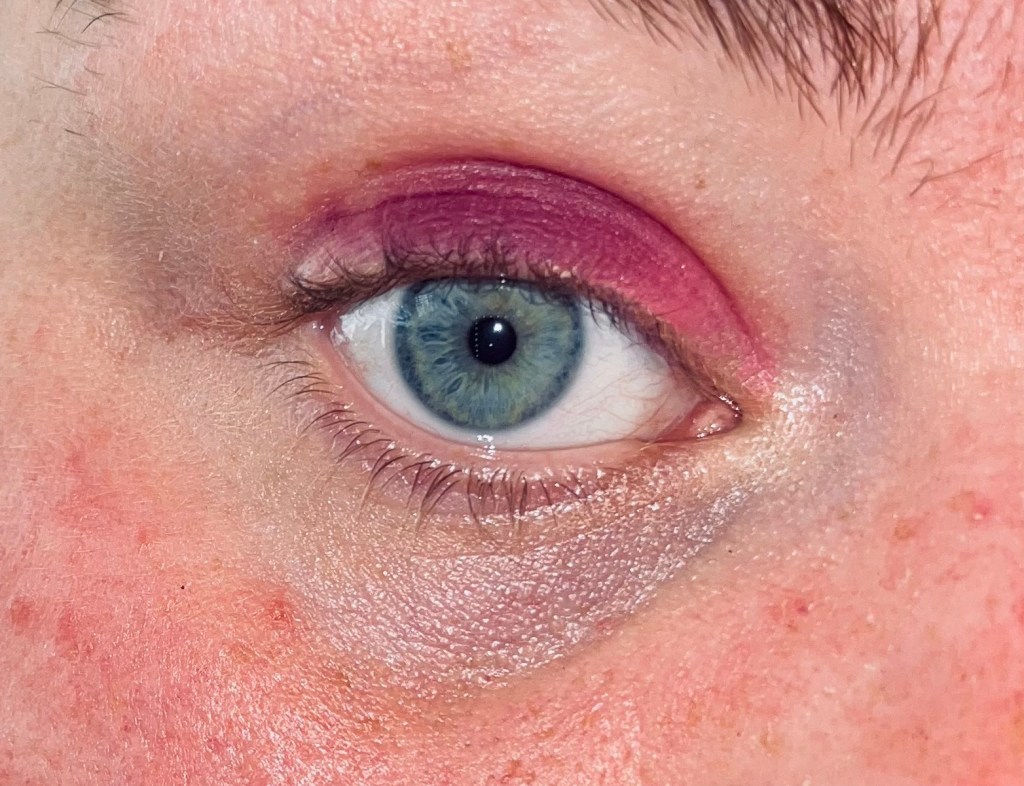
Apply this shade on the outer corner of your eyelid. It’s up to you what shape you want to go for. I will admit I’m not equipped to say what to do. I just went for something like this!
This next part is entirely optional. However, I think it looks really good which is why I’m including it. Take some black liquid eyeliner and line your upper lash line with a wing. Mine looks like this.
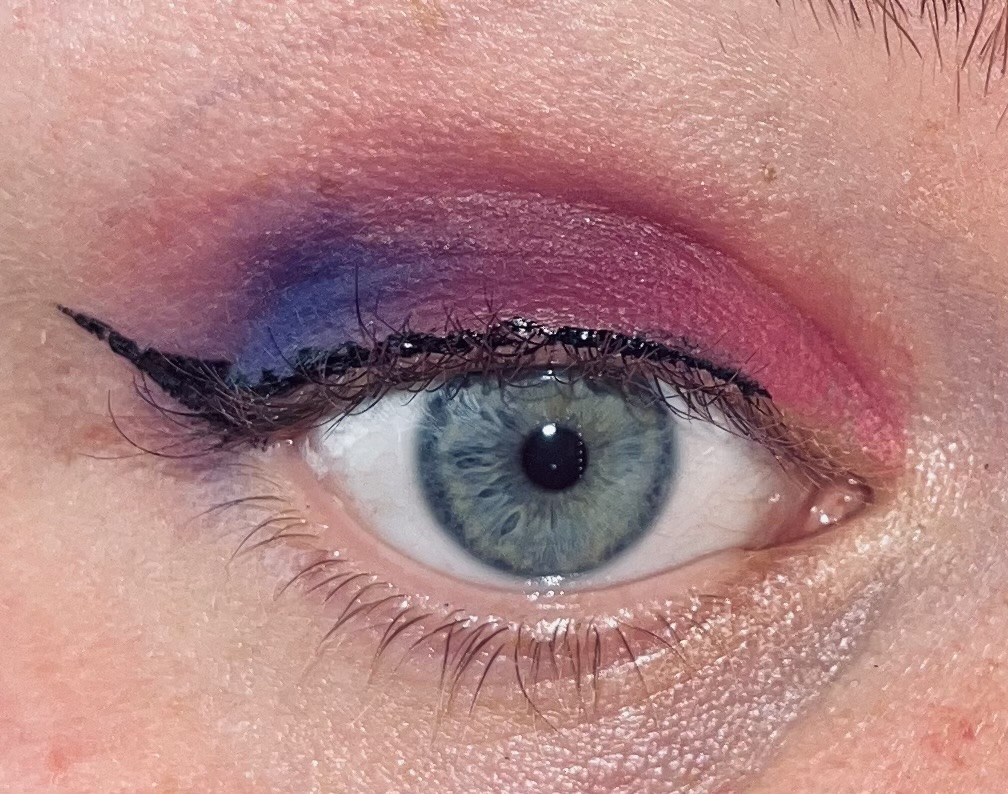
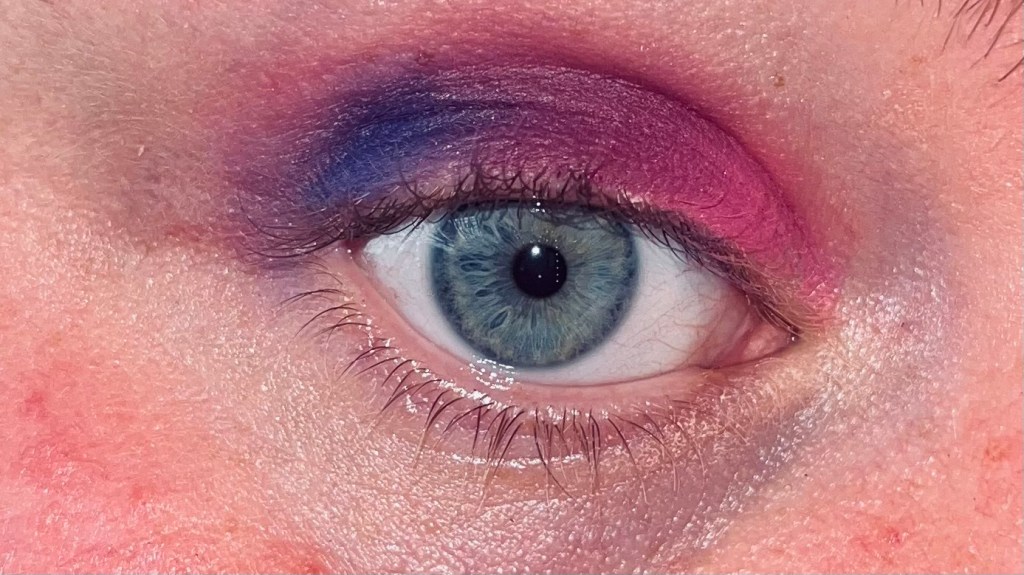
Ok, I’m not the best at applying eyeliner. However, the final step brings everything together for me. Apply some mascara and this is the final result!

And that’s it! I hope this post is useful for you all! Thank you so much for taking the time out of your day to read this post and I’ll see you soon for another one!
Beth
